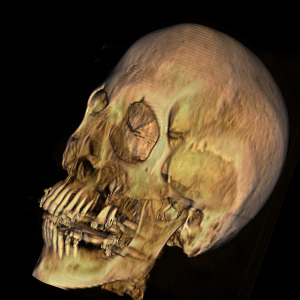
3D 이미지 강화
기본적으로, 3D 이미지는 조명에 반응하지 않습니다. 색상값은 지정 색상 함수에 의해 순수하게 결정됩니다.
전체 Wolfram 언어 입력 표시하기
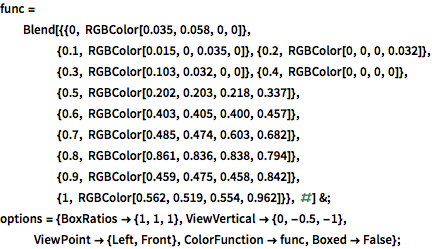
In[3]:=
img3d = Image3D[data, "Byte", options, ImageSize -> 400]Out[3]=
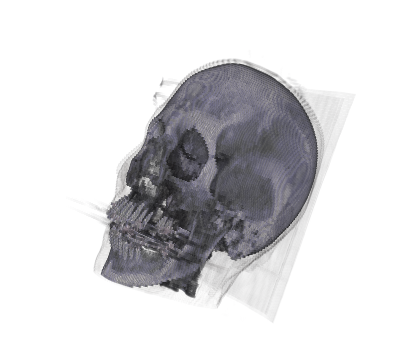
입체 조명을 켜면 곡면의 디테일 하이라이트에 도움이됩니다. 이 경우, 화면의 평면을 향한 지향성 조명이 추가되고, 경면성이 이미지 객체에 추가됩니다.
In[4]:=

ImageCrop[
 Show[Graphics3D[Specularity[Orange, 3], Background -> Black],
  Image3D[img3d, Method -> {"VolumeLighting" -> True}], options,
  Lighting -> {{"Directional", White, ImageScaled[{0, 0, 2}]}},
  ImageSize -> 700], {410, 410}]
Out[4]=
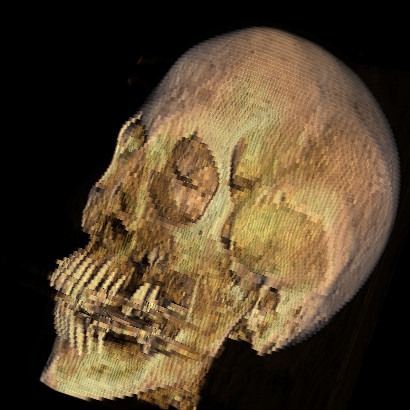
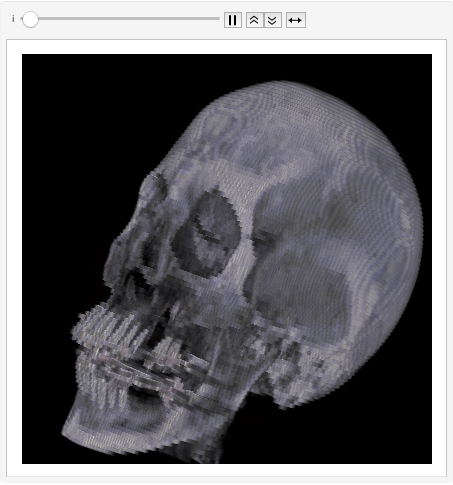
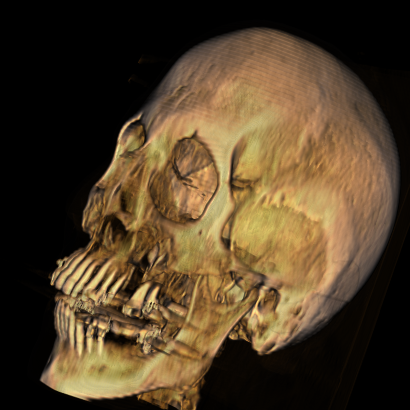
값을 보간함으로써 화질이 좋지 않은 거친 이미지를 한결 향상 시킬 수 있습니다.
In[5]:=
fine = ImageCrop[
  Show[Graphics3D[Specularity[Orange, 3], Background -> Black],
   Image3D[img3d,
    Method -> {"VolumeLighting" -> True,
      "InterpolateValues" -> True}], options,
   Lighting -> {{"Directional", White, ImageScaled[{0, 0, 2}]}},
   ImageSize -> 700], {410, 410}]
Out[5]=
아래 그림에서 보간 및 하이라이트 된 이미지의 변화를 시각화합니다.
전체 Wolfram 언어 입력 표시하기
In[7]:=
Animate[Overlay[{original, SetAlphaChannel[fine, i]}], {i, 0, 1},
 AnimationRate -> 1/3, AnimationDirection -> ForwardBackward]